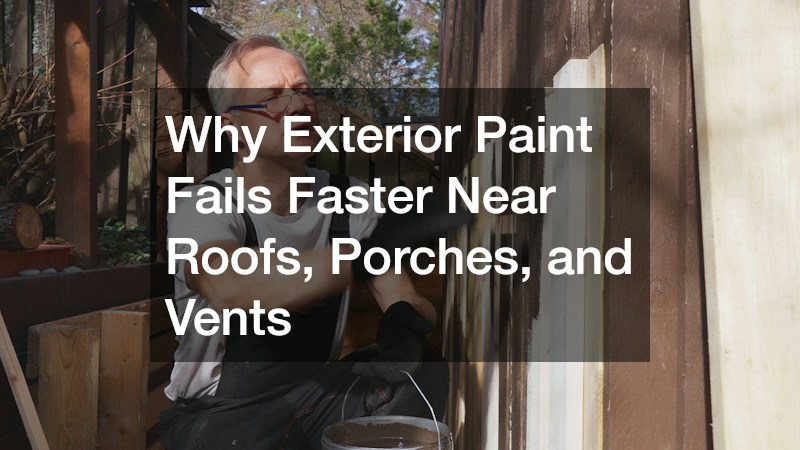
Why Exterior Paint Fails Faster Near Roofs, Porches, and Vents

If you have noticed peeling, bubbling, or cracking paint clustered around your roofline, porch, or vents, you are not imagining things. Exterior paint does not fail evenly across a house, and certain zones take far more abuse from moisture, heat, and structural movement than the rest of the siding. Understanding why these specific areas break down first can save you from repainting the same spots year after year. This guide walks through the real causes behind localized paint failure and what to do about each one.
Roofline Moisture and Flashing Problems
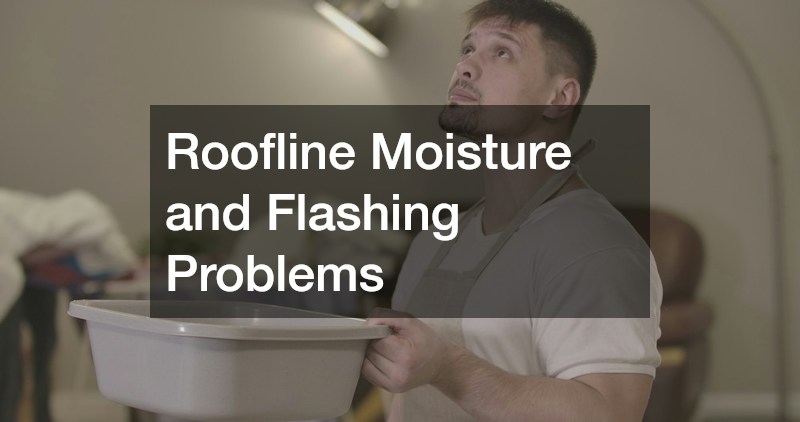
The area where your roof meets your exterior walls is one of the most common failure points for paint, and the reason almost always traces back to water. When flashing is damaged, undersized, or installed poorly, rainwater sneaks behind the siding and soaks the wood or substrate underneath. That trapped moisture pushes outward through the paint film, causing bubbles, cracks, and peeling long before the rest of the house shows wear. A quick inspection after heavy rain can reveal staining or damp patches that point directly to a flashing issue.
Many homeowners assume repainting will solve the problem, but if the underlying leak is not addressed, new paint will fail just as fast. This is where working with experienced roofing contractors pays off, since they can identify whether flashing, underlayment, or shingle damage is letting water in. Catching this early protects both your roof and the paint job you are about to invest in.
Porch Columns and Ceiling Paint Breakdown
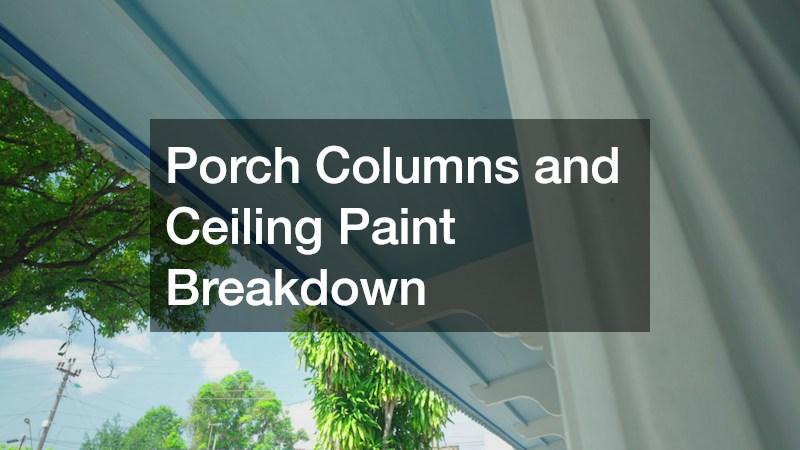
Porches take a unique beating because they combine direct sun exposure, standing moisture, and constant foot traffic near the painted surfaces. Wood columns in particular tend to wick up moisture from the base, which causes paint to crack and flake well before the rest of the trim shows damage. Ceilings on covered porches can also trap humidity, especially if the space lacks adequate airflow, leading to a dull, chalky finish that peels in sheets.
If your porch boards are soft, spongy, or visibly warped, no amount of fresh paint will hold for long. In these cases, porch repair should happen before any repainting begins, since paint applied over compromised wood simply fails again within a season or two. Replacing rotted boards and sealing gaps at the base of columns gives new paint a stable surface to bond to.
Vent and Exhaust Heat Damage
Dryer vents, bathroom exhaust fans, and kitchen range vents all push warm, often moist air directly onto nearby exterior walls. Over time, this repeated heat and humidity cycle softens paint and accelerates its breakdown, which is why you often see discoloration or peeling in a halo pattern around vent covers. Grease-laden kitchen exhaust can be especially damaging, leaving a sticky residue that paint simply cannot adhere to long term.
It helps to check that vents are angled downward or fitted with proper covers so exhaust does not blow straight against the wall. Cleaning the area regularly and repainting with a heat-tolerant exterior coating can extend the life of the finish in these high-exposure spots.
HVAC Condensation and Equipment Runoff
Outdoor HVAC units sit close to the house and often drip condensation or runoff directly onto nearby siding and trim. A central air conditioner can produce several gallons of condensate per day during peak summer humidity, and that water has to go somewhere — usually straight down the wall behind or beside the unit. Add in runoff from a nearby downspout or a poorly graded pad, and that section of siding may stay damp for hours after the rest of the house has dried. This constant low-level moisture exposure softens paint and promotes mildew growth, especially in shaded areas where the wall rarely dries out completely. The combination of standing moisture and reduced airflow behind the unit creates ideal conditions for mildew spores and algae to take hold, which can stain and break down the paint film faster than UV exposure alone. Units positioned on the north or east side of a house are especially prone to this since they get little direct sun to help the wall dry. Over several seasons, the paint nearest the unit can look noticeably more weathered than paint just a few feet away. Homeowners often notice a visible halo of peeling, bubbling, or discoloration tracing the outline of the condenser or the runoff path from a vent above it. Simple fixes like adding a splash guard, redirecting the condensate line away from the wall, or trimming back vegetation to improve airflow can significantly extend the paint’s life in that spot.
Central air conditioning units produce a surprising amount of condensate — often several gallons a day during peak summer humidity — and that water has to go somewhere. When the condensate line empties too close to the house, it repeatedly wets the same patch of siding or trim, and paint in that spot will blister, peel, or grow mildew long before the rest of the wall shows any wear. You may notice a vertical streak or soft, discolored band running down from the unit even if the rest of the exterior looks fine. If your system is older or struggling to drain properly, it may be time to consider air conditioning replacement rather than continuing to patch a unit that keeps soaking the same wall section. Aging units often develop clogged drain pans, cracked lines, or undersized condensate pumps that worsen over time rather than improving. Replacing the unit outright can be more cost-effective than repeatedly repainting and repairing the same damaged siding every year or two. Many AC companies can also assess whether your condensate line placement is contributing to the moisture problem in the first place. A technician can check the slope of the drain line, confirm the pan isn’t overflowing, and recommend a discharge point that directs water onto gravel, a splash block, or a drainage bed instead of painted wood or stucco. Newer units are often more efficient at managing condensate lines, which reduces the moisture load on your exterior finish. Redirecting drainage lines away from painted surfaces is a simple fix that protects both the equipment area and the paint around it. In many cases, extending the line just a few feet with PVC pipe is enough to stop the cycle of recurring damage entirely.
Grading Issues and Splash-Back Near the Foundation
Paint failure is not limited to the upper parts of a house. Poor grading around the foundation can cause rainwater to pool and splash back onto the lowest few feet of siding every time it rains. This splash-back carries soil, debris, and moisture that stains and degrades paint far faster than normal weathering would.
- Downspouts that empty too close to the house, sending water back toward the walls
- Flower beds built up against siding, holding moisture against painted surfaces
- Low spots in the yard that direct runoff toward the foundation instead of away from it
- Hardscaping that slopes toward the house rather than away from it
If you notice consistent dirt lines or peeling paint near the ground level, it is worth having site grading companies evaluate the slope around your home. Correcting the grade so water flows away from the foundation can eliminate repeated splash damage and give new paint a real chance to last.
Structural Movement and Overhang Stress Points
Homes and additions built with steel framing sometimes use bar joists to support roof overhangs, porch ceilings, or carport structures. These components expand and contract with temperature swings, and that movement can transfer stress to the painted surfaces attached nearby, creating fine cracks that widen over time. Because the cracking follows the joist lines rather than random wear patterns, it can be mistaken for a simple paint quality issue when the real cause is structural flex.
Paint applied over these transition points needs flexibility to handle ongoing movement, so a rigid, lower-quality coating will crack faster than a product designed for exterior flex zones. If you notice recurring cracks in the same linear pattern every year, it is worth having the structure itself inspected rather than just repainting over the same failure point repeatedly.
Sun Exposure and UV Breakdown on South and West Walls
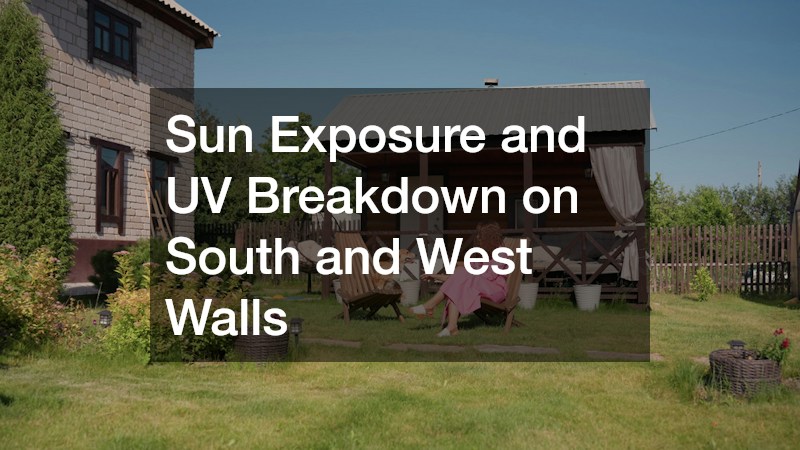
Paint on the sunniest sides of a house, typically south and west facing walls, breaks down faster simply due to prolonged ultraviolet exposure. West-facing walls often take the hardest hit, since they absorb the intense late-afternoon sun when temperatures are already at their daily peak. UV rays break apart the resins that hold paint pigment together, leading to fading, chalking, and eventually cracking well before shaded walls show similar wear. Darker colors absorb more UV energy and heat than lighter ones, so a deep red or navy south wall may show chalking and fading years ahead of a pale beige wall on the same house. Surface temperatures on sun-exposed siding can climb well above the surrounding air temperature, sometimes exceeding 150°F on dark-colored surfaces, which speeds up the breakdown of binders in the paint film. Lower-quality paints with less UV-resistant resin tend to fail even faster under these conditions, which is why paint grade matters as much as color choice. This is a normal part of exterior wear, but it is often accelerated near rooflines and porches where reflected heat adds to the UV load. Metal roofing, light-colored porch ceilings, and even gutters can bounce additional sunlight and heat back onto nearby wall sections, creating hot spots that age faster than the rest of the facade. Homeowners who notice chalking or fading concentrated near the roofline or porch overhang on south and west exposures are often seeing this compounding effect rather than a defect in the paint itself.
South- and west-facing walls take the brunt of the day’s strongest sunlight, often reaching surface temperatures 20-30 degrees hotter than shaded sides of the same house. That intense UV exposure breaks down paint resins over time, leading to chalking, fading, and premature cracking years before north- or east-facing walls show similar wear. Installing exterior sun shades over the most exposed windows and wall sections can meaningfully reduce the heat and direct light hitting your paint, extending its usable life. Retractable awnings, louvered shade panels, and even strategically placed pergolas can cut direct sun exposure on a wall by several hours a day. Shades also reduce indoor cooling costs, making them a practical addition beyond just protecting your exterior finish. Choosing a paint with UV-resistant additives for these walls is another simple way to slow the fading process. Look for products labeled with acrylic resins or ceramic-based formulations, since these tend to hold color and flexibility longer under constant sun exposure than standard latex paints. Darker colors absorb more heat and fade faster, so if you have flexibility in color choice, lighter or more reflective tones on south and west walls can further extend repaint cycles by a year or more.
Plumbing Leaks Behind Exterior Walls

Not every paint failure originates outside the house. Slow leaks from plumbing lines routed through exterior walls can saturate the wall cavity from the inside, eventually pushing moisture out through the siding and paint. This often shows up as a persistent damp patch or peeling section that does not correspond to any obvious outdoor cause like rain exposure or vent placement.
If you have ruled out roofing, grading, and HVAC issues but still see recurring paint failure in one specific spot, it is worth calling the best plumber you can find to check for hidden leaks in that wall section. Catching a slow leak early prevents more serious wood rot and mold problems down the line. Once the leak is repaired and the wall has fully dried out, repainting will hold far better than before.
Roof Age and Aging Shingle Timelines
Even with good flashing, an aging roof can contribute to paint problems near the roofline simply because shingles lose their ability to shed water efficiently as they near the end of their lifespan. Asphalt shingles are typically rated for 20 to 25 years, but that lifespan assumes ideal ventilation and installation conditions, which many homes never quite achieve. By year 15 or so, granule loss, curling edges, and worn seals have usually begun in earnest, and each of these issues increases the chances of water finding its way down into the wall assembly below. Curling shingles are especially problematic because they create small gaps that let wind-driven rain travel sideways under the roofline rather than running straight off the edge. Granule loss, often visible as dark streaks or bald patches, signals that the shingle’s protective coating is breaking down and absorbing more moisture than it should. Once water starts tracking behind the fascia or soffit, it can wick into the sheathing and siding long before any leak becomes obvious indoors. When this happens repeatedly, no amount of exterior paint maintenance will keep up with the damage. A homeowner might repaint the same trim board three summers in a row, never realizing the real source of the peeling is twelve feet up on a roof that’s quietly past its prime. Checking roof age alongside paint condition is a simple step that can save years of repeat repainting.
Asphalt shingles typically last 15 to 25 years depending on material quality, ventilation, and climate exposure, with the final few years often marked by granule loss, curling edges, and small leaks that aren’t yet obvious indoors. These subtle failures let moisture travel behind fascia boards and into the top courses of siding, which is exactly where paint tends to blister and peel first. If your roof is approaching 20 years old or showing visible wear, it’s worth treating that as a warning sign rather than a coincidence. At this stage, it may be more cost effective to plan for roof replacement rather than continuing to chase paint failures caused by an aging roof system. Repainting the same trim every two or three years adds up quickly, and that money often outpaces what a new roof would have cost if addressed sooner. A new roof also typically comes with updated flashing and underlayment, which removes the hidden moisture source entirely instead of masking it with another coat of paint. Getting quotes from a few established roofing companies can help you understand your realistic timeline and budget before damage spreads further into your walls. Ask each company to inspect flashing, valleys, and vent boots specifically, since these are common entry points for the water causing your paint problems. A reputable contractor should be able to tell you not just whether the roof needs replacing, but how many more seasons it might reasonably last if you’re not ready to commit yet.
Paint failure near rooflines, porches, and vents is rarely random, and in most cases it points to a specific moisture, heat, or structural issue that needs attention before repainting makes sense. Start by identifying which pattern matches what you are seeing on your own home, then address the root cause rather than just the surface symptom. A fresh coat of paint will only last as long as the surface and systems behind it are sound, so a little investigation now saves you from repeating the same repair in just a year or two.