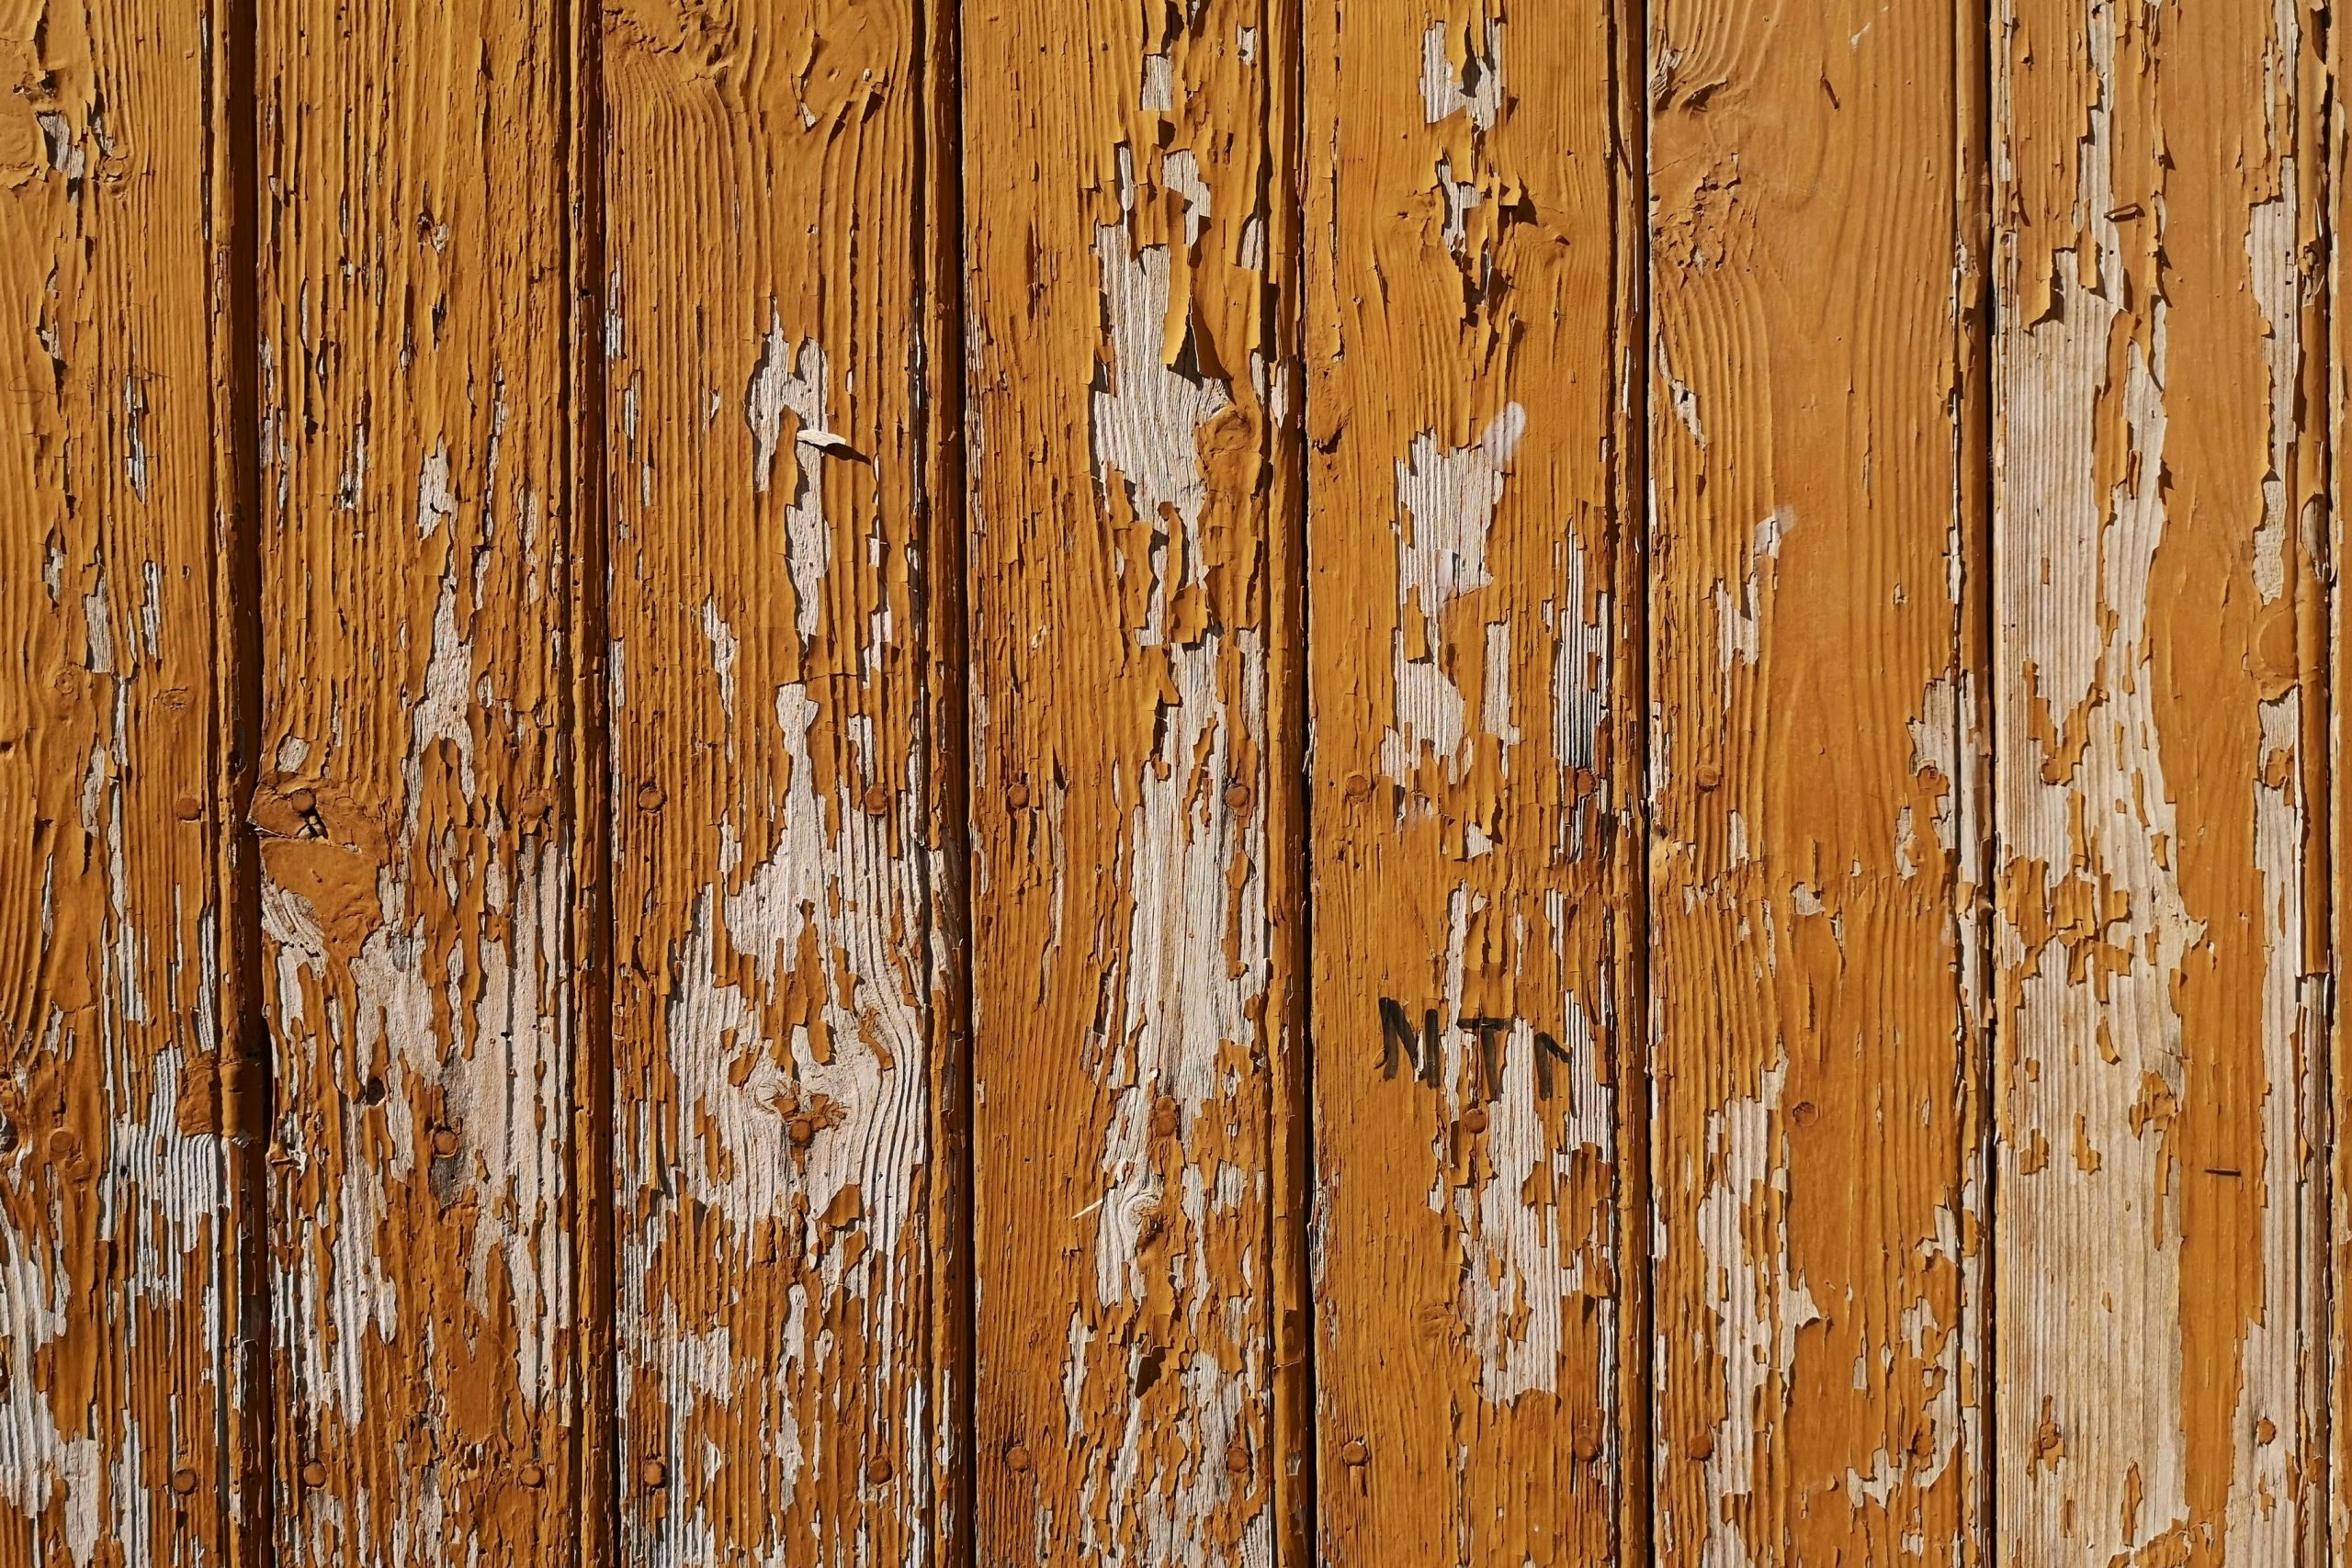
How to Remove Paint from a Deck Safely & Effectively

Removing old or peeling paint from a deck is an important step if you want to restore its natural wood look or get it ready for a fresh coat. Whether your deck paint is flaking, fading, or just doesn’t suit your style anymore, this guide will show you exactly how to remove paint from a deck using safe and effective methods. This article is designed to be easy to follow, even if you’re a beginner.
Why Remove Paint from a Deck?
Before we jump into the how-to, it’s helpful to understand why paint removal is important:
- Better adhesion for new paint or stain
Removing the old layer ensures that your new finish sticks properly. Paint or stain bonds best to clean, bare wood, which helps the new coating last longer.
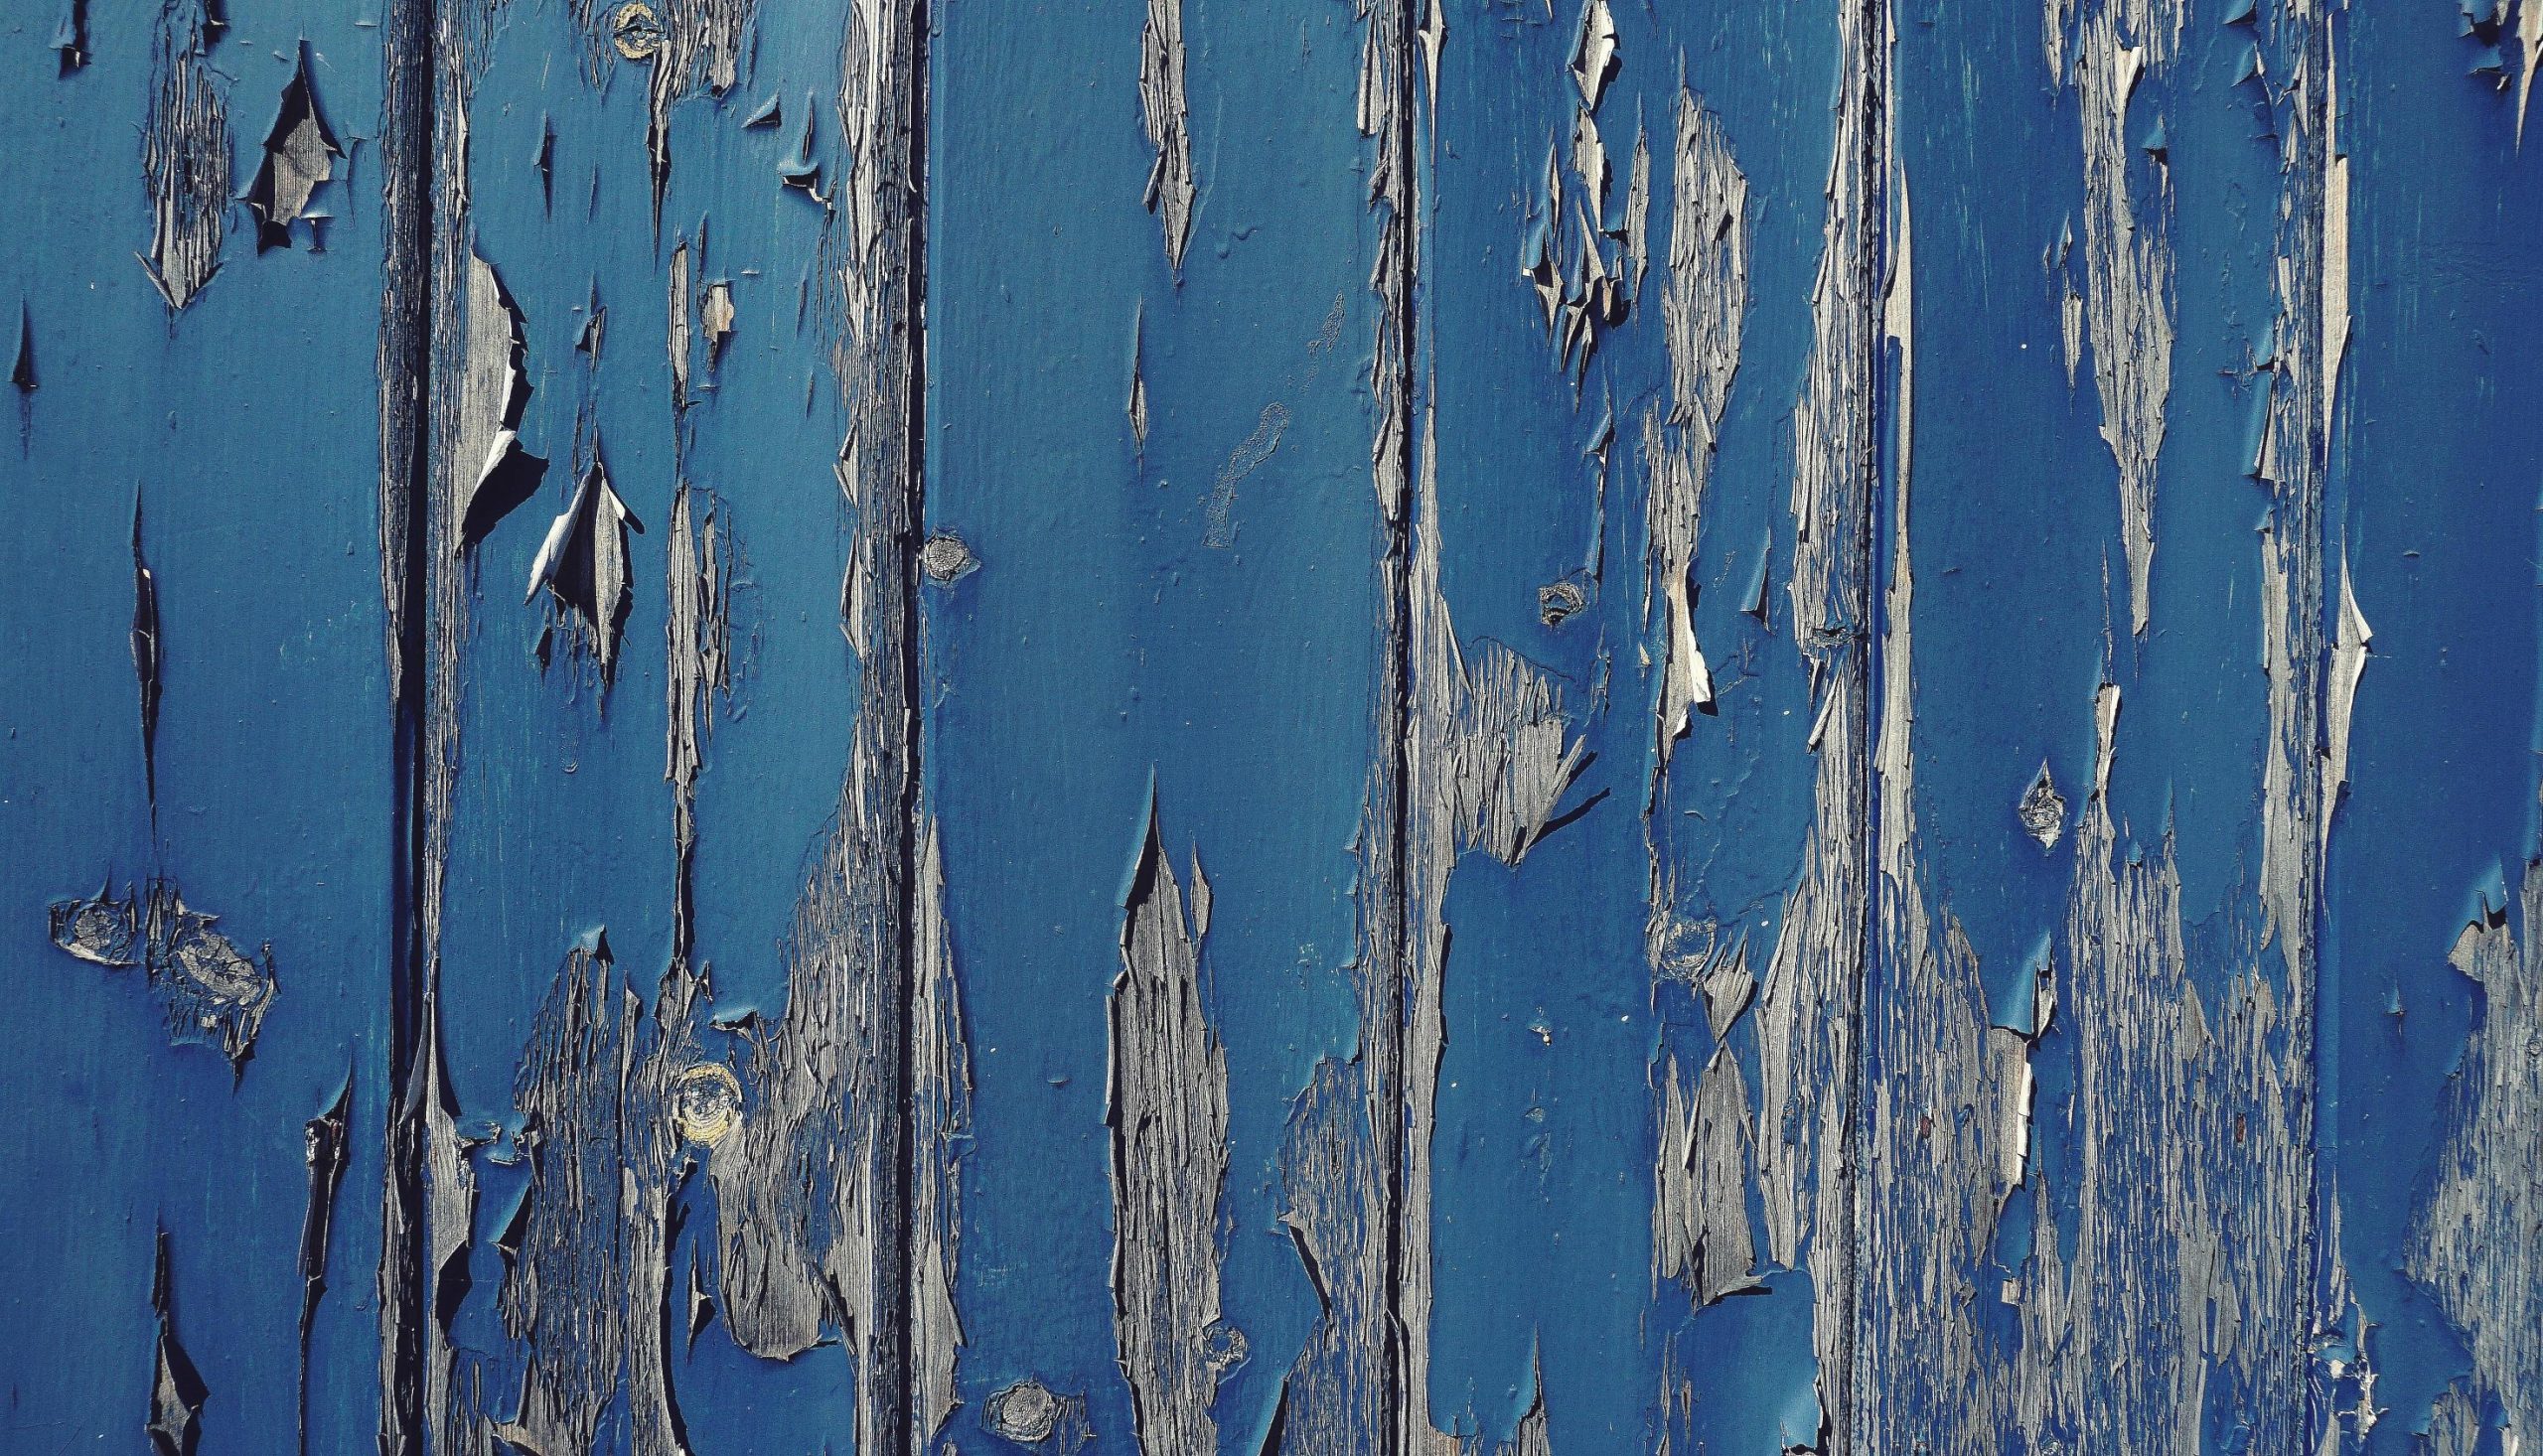
- Prevent peeling and flaking
Applying new paint over old, damaged layers can lead to bubbling, chipping, and peeling. Stripping away the old paint helps avoid these problems and gives you a smoother surface.
- Reveal wood damage
Peeling or thick paint can hide issues like rotting boards, mildew, or water damage. Once the paint is removed, you can inspect and repair the wood underneath.
- Improve appearance
A clean, freshly refinished deck looks better and increases your home’s curb appeal. Whether you repaint or stain, the end result will be more attractive on a clean surface.
Taking the time to remove paint properly ensures your deck looks great and lasts longer. It’s a key step before starting any project like staining, sealing, or even learning how to paint a deck the right way.
What You Need
Gathering the right tools and materials ahead of time can make the job smoother:
- Paint scraper or putty knife
- Deck cleaner
- Pressure washer (optional)
- Chemical paint stripper (deck-safe)
- Sander or sanding block
- Protective gear: gloves, goggles, and mask
- Plastic sheeting or drop cloths
- Bucket and scrub brush
- Garden hose
Step 1: Prepare Your Work Area
Start by clearing the deck of all furniture, plants, or decor. Then cover nearby plants, siding, and walkways with plastic sheeting or drop cloths to protect them from chemicals or paint splatter.
Sweep off any loose dirt and debris. This makes it easier to see where the paint is peeling or flaking.
Step 2: Try Scraping Loose Paint
Use a paint scraper or putty knife to remove any loose or flaking paint. This step helps reduce the amount of chemical stripper needed later. Be gentle, especially on older wood, to avoid gouging the surface.
Step 3: Clean the Deck
Use a deck cleaner to remove dirt, mildew, and grime. You can apply it with a scrub brush or use a sprayer. Let the cleaner sit for 10-15 minutes, then scrub the boards well. Rinse with a garden hose or a pressure washer set to a gentle setting.
Let the deck dry completely before moving to the next step. This usually takes 24 to 48 hours depending on weather conditions.
Step 4: Apply a Paint Stripper
Choose a paint stripper designed for wood decks. Follow the label directions exactly. Most strippers are applied with a paintbrush or roller.
- Work in sections so the stripper doesn’t dry before you can scrape it.
- Let the stripper sit for the recommended time (usually 15 to 45 minutes).
- You will see the paint start to bubble or lift.
Step 5: Scrape Off the Paint
Once the paint has loosened, use your paint scraper to lift it off the deck. Work carefully and follow the wood grain to avoid damaging the surface. If you notice stubborn spots, you can reapply as needed.
Collect paint residue in a trash bag. Don’t let it fall into the soil or nearby plants.
Step 6: Use a Pressure Washer (Optional)
After scraping, a pressure washer can help remove leftover paint and residue. Use a fan tip nozzle and keep the pressure between 500 to 1200 PSI to avoid damaging the wood. Always move in the direction of the grain.
Let the deck dry again completely before moving on.
Step 7: Sand the Surface
Once the deck is dry, use a sanding block or power sander to smooth rough areas and remove leftover bits of paint. Start with medium-grit sandpaper (80-grit), then switch to finer grit (120-grit) for a smoother finish.
Sanding helps prep the wood for staining or painting and makes it feel better underfoot.
Step 8: Clean Again Before Finishing
After sanding, sweep and rinse the deck to remove dust and debris. Make sure the surface is totally clean and dry before you apply any new paint or stain.
Tips for Best Results
- Choose mild weather: Avoid rainy or very hot days.
- Work in the shade: Sunlight can dry out stripper too quickly.
- Test products first: Try your paint stripper on a small area before doing the whole deck.
- Follow safety instructions: Chemical strippers can be harmful if misused.
After Paint Removal: What’s Next?
Once the paint is gone, you have options:
- Stain the deck to show off the wood grain.
- Paint it again with a color you like.
- Seal it to protect the natural wood.
If you plan to repaint, make sure to follow best practices on how to paint a deck to get long-lasting, attractive results.
Can You Use a Heat Gun to Remove Deck Paint?
Some homeowners use a heat gun to loosen paint. While this can work on furniture or trim, it’s not ideal for large deck areas because it’s time-consuming and could pose a fire risk. Stick with chemical strippers or pressure washing for best results.
When Should You Call a Pro?
You might want professional help if:
- The deck is very large.
- The paint is lead-based (common in homes built before 1978).
- You don’t have the right tools or time.
- You want the job done quickly and safely.
Final Thoughts
Removing paint from a deck takes time and effort, but it’s worth it for a clean, refreshed surface. With the right tools, techniques, and safety steps, you can get the job done and prepare your deck for its next finish. Whether you want a natural wood look or a bold new color, starting with a clean slate is the key.
Now that you know how to remove paint from a deck, you’ll be better prepared for your next outdoor project. And if you’re considering applying a new finish afterward, don’t forget to read about how to paint a deck the right way for lasting beauty and protection.